Create a new Role
You can create a new role in two ways, either from the Roles tab or by using an existing role as a template.
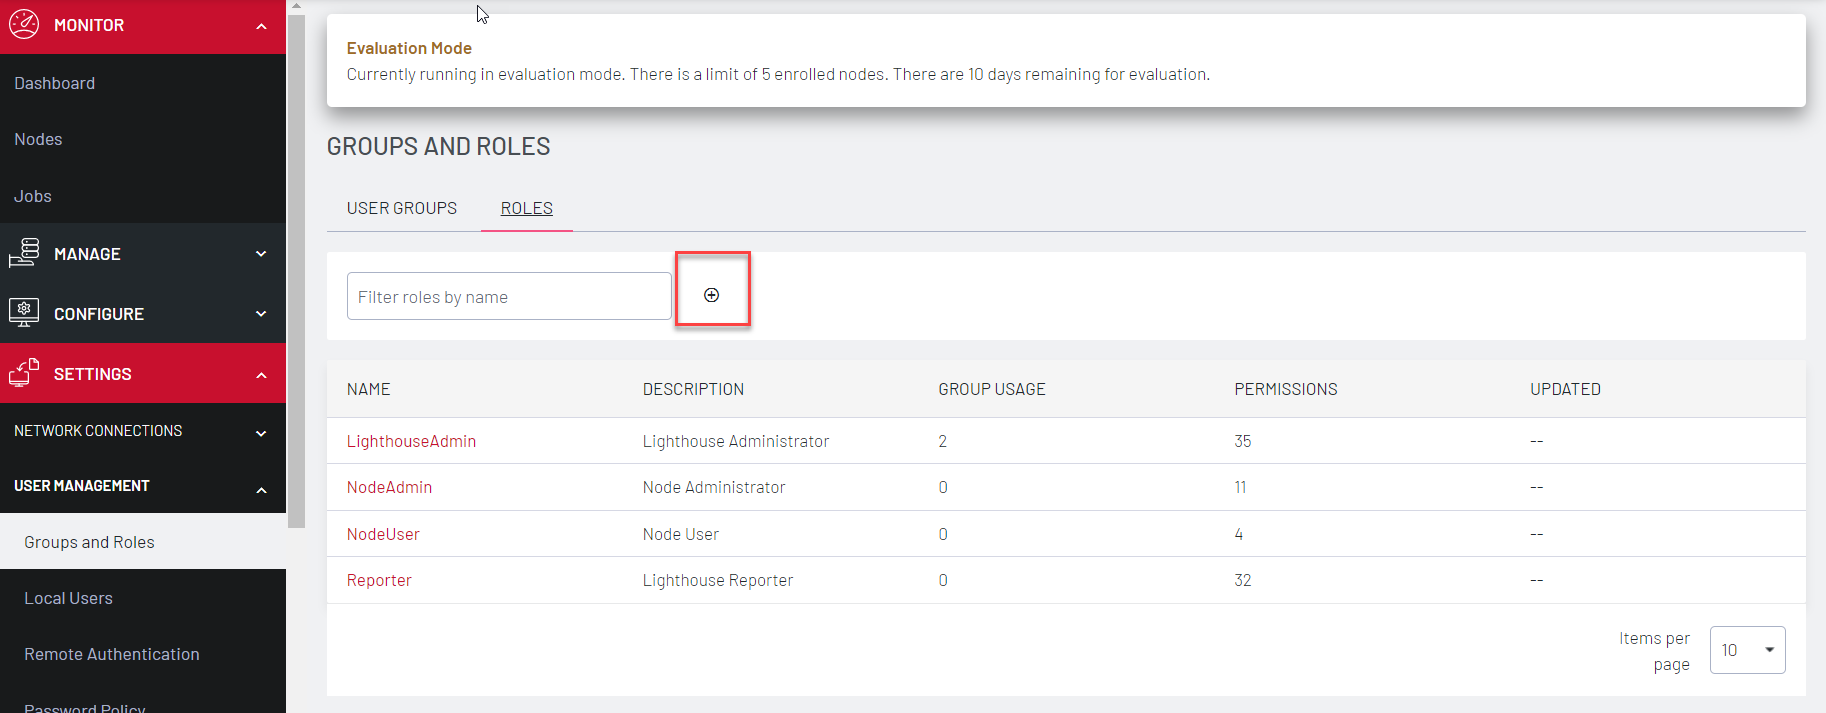
To create a new role from the Roles tab:
-
Select SETTINGS > USER MANAGEMENT > Groups and Roles.
-
Click the ROLES tab.
-
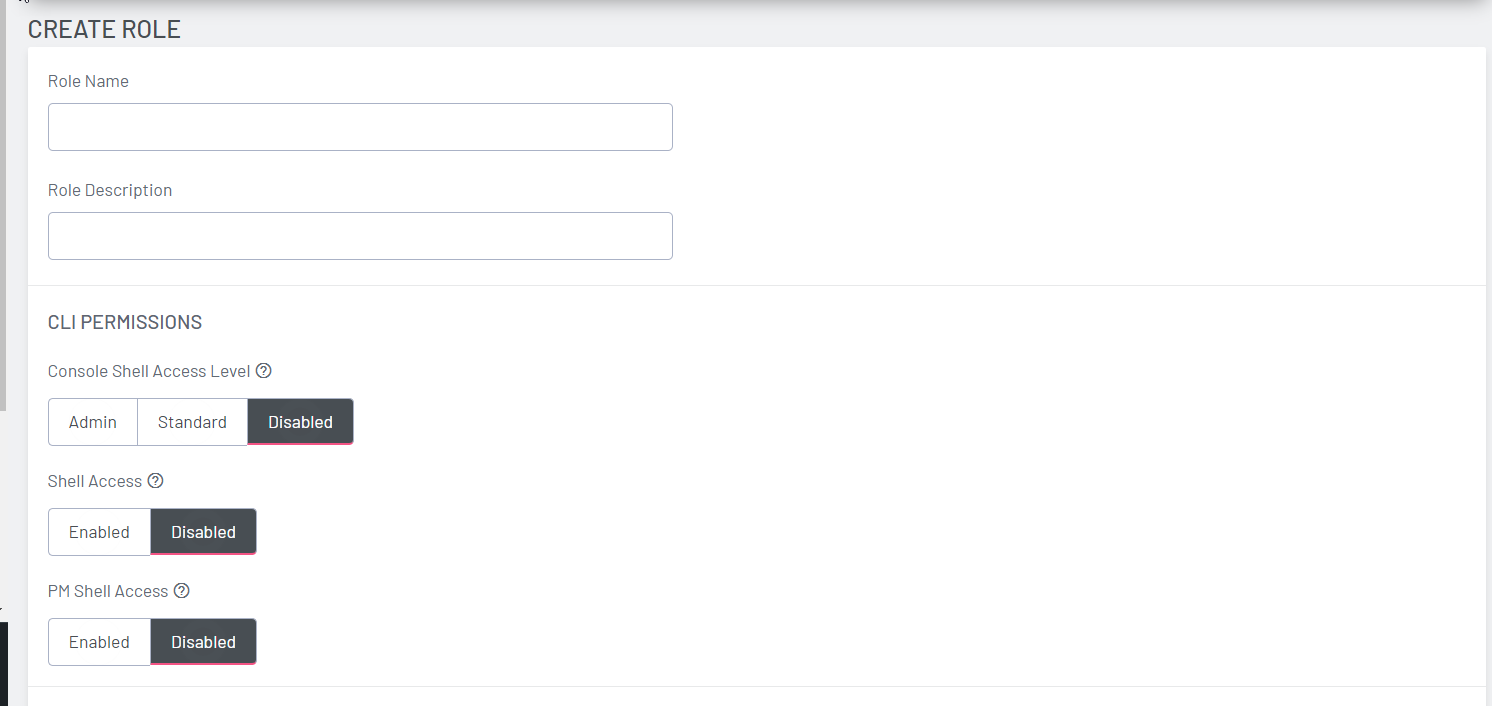
Click + button. The Create Role page opens
-
Enter a Role Name and Role Description.
-
Modify the CLI Permissions for as desired.
Console Shell Access: Ability to connect to nodes’ command lines via Lighthouse’s SSH.
Shell Access: Ability to access Lighthouse’s command line as administrator.
PM Shell Access: Ability to connect to serial ports via SSH. -
You can also control the Operation Permissions for the new role independently. Specify
Full Access,
Read Only, or
Deny.
Click to the right of each Operation row to see all options.
Note:See Available Operations Permissions for a list of all options.
-
Click Save Role.
To create a new role from an existing role:
A new role can also be based on an existing role with the Use as template link on the upper right of a role’s detail page.
-
Select SETTINGS > USER MANAGEMENT > Groups and Roles.
-
Click the ROLES tab.
-
Select the role you wish to copy from the list.
-
Click Use as template. The Create Role tab displays with all the settings of the existing role. Make changes if necessary.
-
Click Save Role to create the new role.