Create an upgrade task
The Node Upgrade UI is available in the Web UI under Settings > Services > Node Firmware Upgrade Use the Upgrade tasks tab to
-
Upgrade a node
-
Schedule a node upgrade
-
Upload a new firmware file
To upgrade a node use the task information table:
-
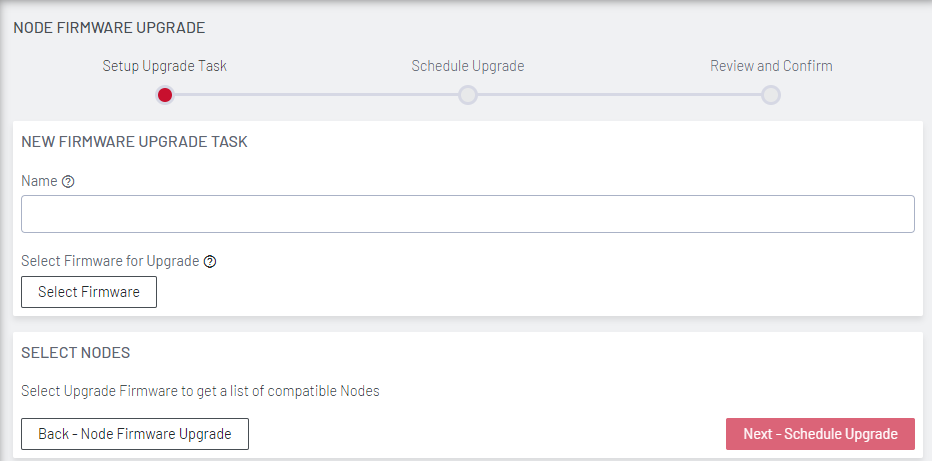
Click the Schedule an Upgrade button (+) above the task information table to schedule an upgrade (or start one immediately).
-
The Node Firmware Upgrade wizard displays. Enter a name/title for the upgrade task.
-
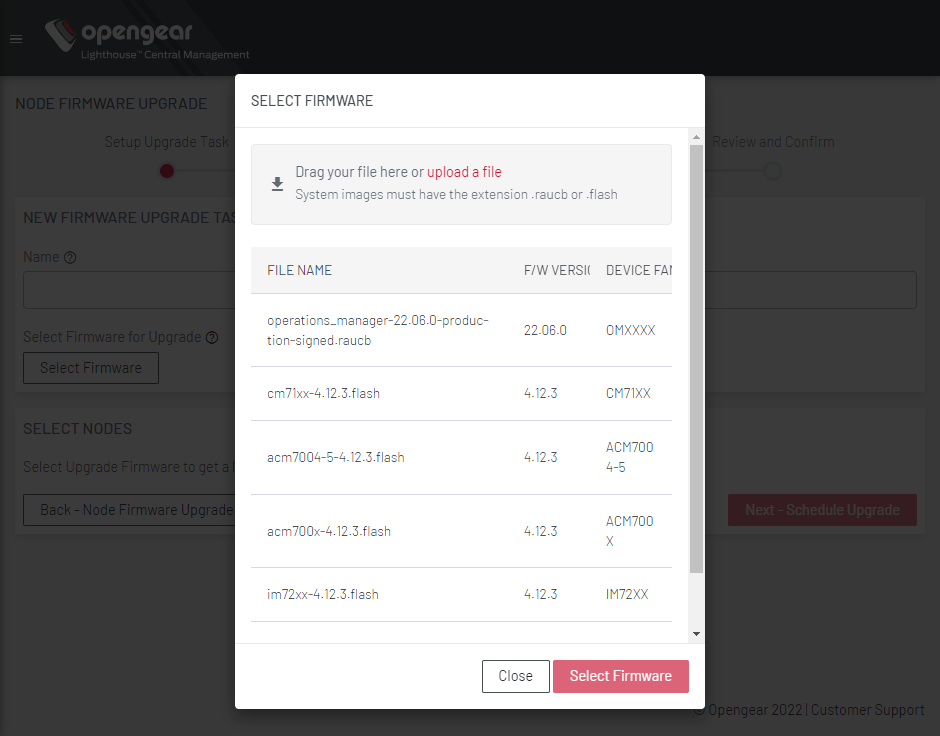
Click the Select Firmware button. The Select Firmware list displays.
-
Select the firmware upgrade or upload new firmware for the upgrade task. Click Select Firmware button.
-
Select the nodes to be upgraded. Select Next - Schedule Upgrade.
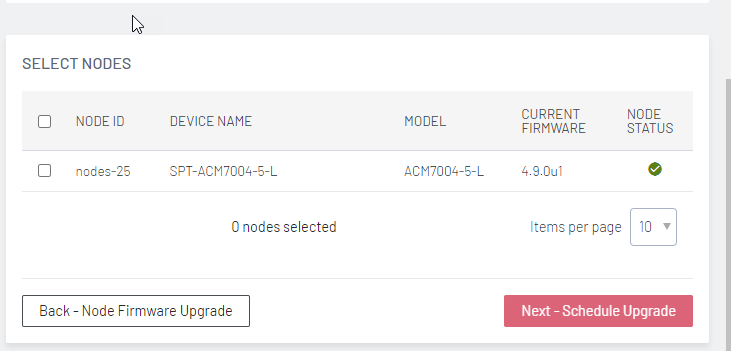
Note:Compatible nodes that have already been scheduled for an upgrade cannot be selected, these are visible in the list but appear greyed-out. Nodes that are not compatible with the firmware file will not be listed.
-
Select the Start time as either Immediately after creation for immediate start, or, Set time. For Set Time , enter the Scheduled time Date and Time.
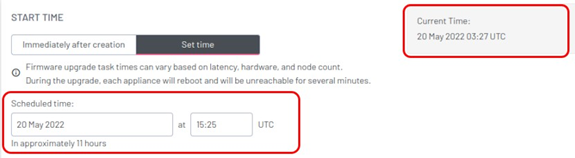
Note:The scheduled time is always in UTC.
-
If Upgrade in Failover is selected, it is selected either in bulk, by dropdown selection (a), or, individually by a toggle switch beside each table row (b):
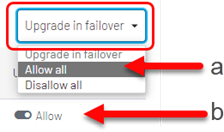
Note:Selecting this option may result in considerable cell charges in the event of a failover.
-
Click Next – Review and Confirm to go to the review screen. Check the schedule details are correct. To change schedule details, click Back – Schedule Upgrade, all data local data will be preserved while you change parameters on previous screens.
-
Select Confirm, and type Yes at the prompt, then click Confirm to create the task.