Filtering NODES using the Port Filter
Use MANAGE > MANAGED DEVICES > Console Gateway to customize the node display.
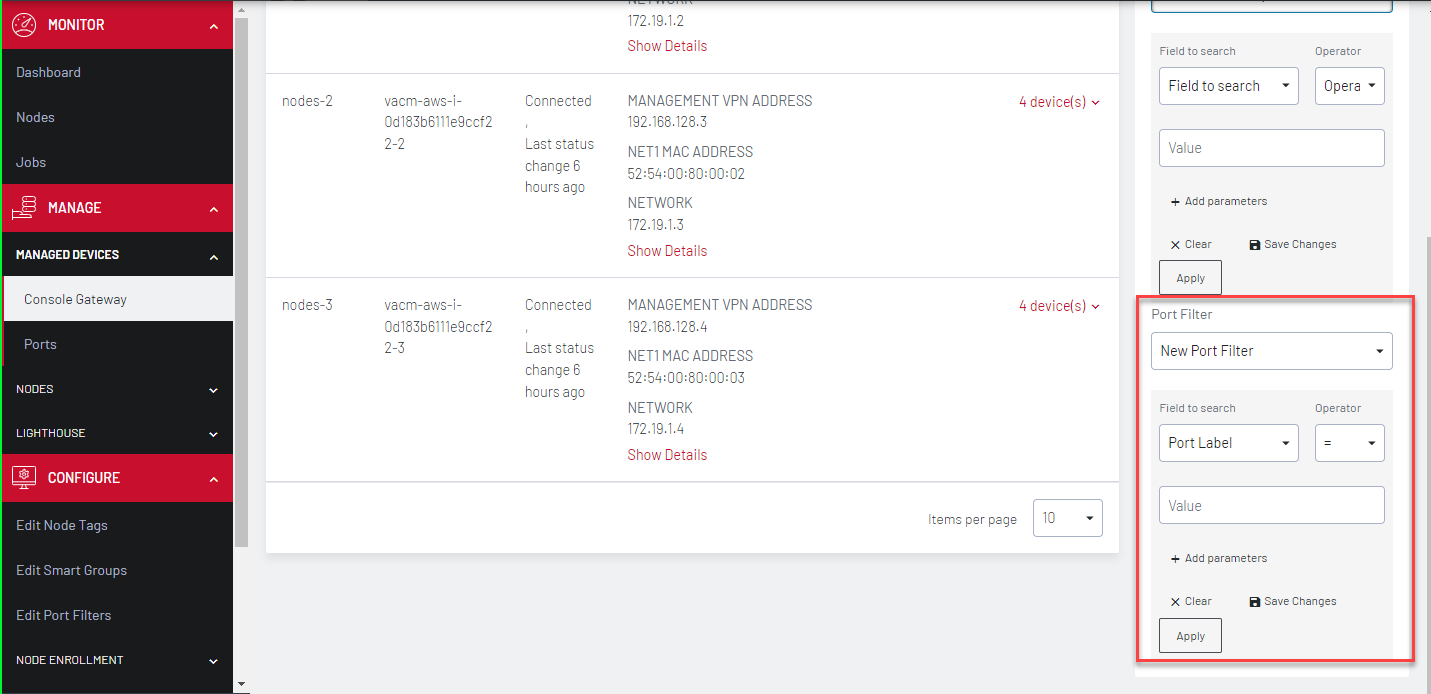
On the ADVANCED FILTER pane, on the Port Filter pane, use theSelect Port Filter dropdown list. Select a filter from the list and the page displays the nodes that belong to the selected Port Filter.
To narrow the search:
-
Click Field.
-
Select a field option such as Port Label or Port Tag and enter a Value in the text box.
-
For Port Label you can select an Operator from the drop-down box on the right. A range of operators are available allowing you to define any filters from very wide to very narrow ranges.
-
If you wish to narrow the search, select +Add Parameters. Select the AND or OR button to specify the requisite boolean value.
-
Select the next Field to Search option such as Port Tag and enter a value in the text box.
-
You can repeat from step 4 to add more parameters.
-
Click Apply Filter.
-
Click Save Changes. You can also select to Clear.