How to use Automation Gateway
Using Automation Gateway, Lighthouse users can connect to the web UI of a remote physical & virtual managed device such as a firewall, lights-out server or SD-WAN appliance.
Access is proxied via Lighthouse VPN via a remote node, allowing simply, point & click access to what may be an otherwise unreachable remote device.
PROCEDURE
The basic steps to setup and use this feature are as follows:
-
Activate the Automation Gateway NetOps Module on an enrolled node, that is on the same network as the remote device that you wish to reach.
-
Log in to the Lighthouse web UI as a user with at least NetOps Modules: Read Only permission, and at least Nodes & Devices (Base): Read Only permission for the activated node.
-
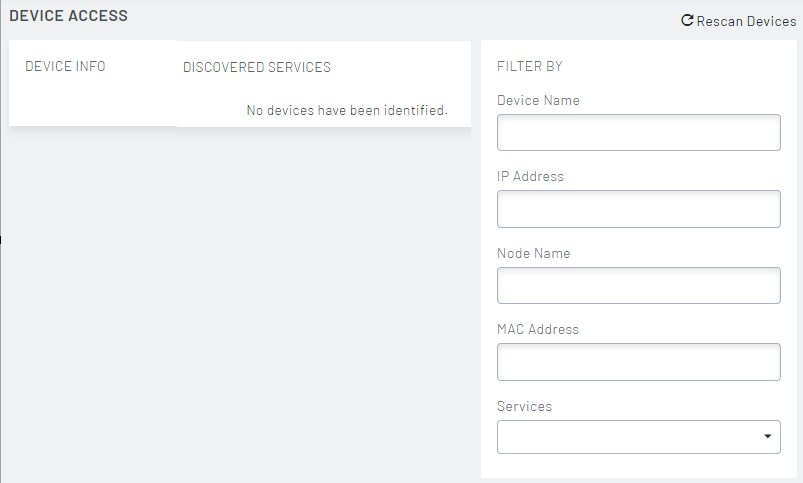
Click CONFIGURE > AUTOMATION GATEWAY > Devices.
-
In the FILTER BY menu, select HTTPS or HTTP from the Services drop down.
-
Locate the remote device by hostname or IP address.
Tip: If many remote devices have been discovered, use the FILTER BY menu to search by full or partial device hostname or IP address.
-
To initiate an Automation Gateway session, click the device's web UI icon.
-
You are now connected the web UI of the remote device
Note:While an Automation Gateway session is active, all new browser tabs and windows that connect to Lighthouse are proxied through to the remote device web UI.
-
To close the Automation Gateway session, click the link at the bottom of the device web UI:
This system is being accessed via Lighthouse - click here to return to Lighthouse