Setting up a multiple instance
Lighthouse supports up to 10 secondary instances for each primary Lighthouse instance. A secondary instance is also known as a dependent instance.
Before you attempt to set up a multiple instance:
-
Start with what will be the primary instance and one or more Lighthouse instances to act as secondary. All instances must have the same version of Lighthouse.
-
Configure the networking information for each instance (hostname, external endpoints, network addresses, REST API port).
-
Configure the time settings of each instance.
-
Ensure you have a subscription active on your primary Lighthouse.
To set up a multiple instance feature on the primary Lighthouse:
-
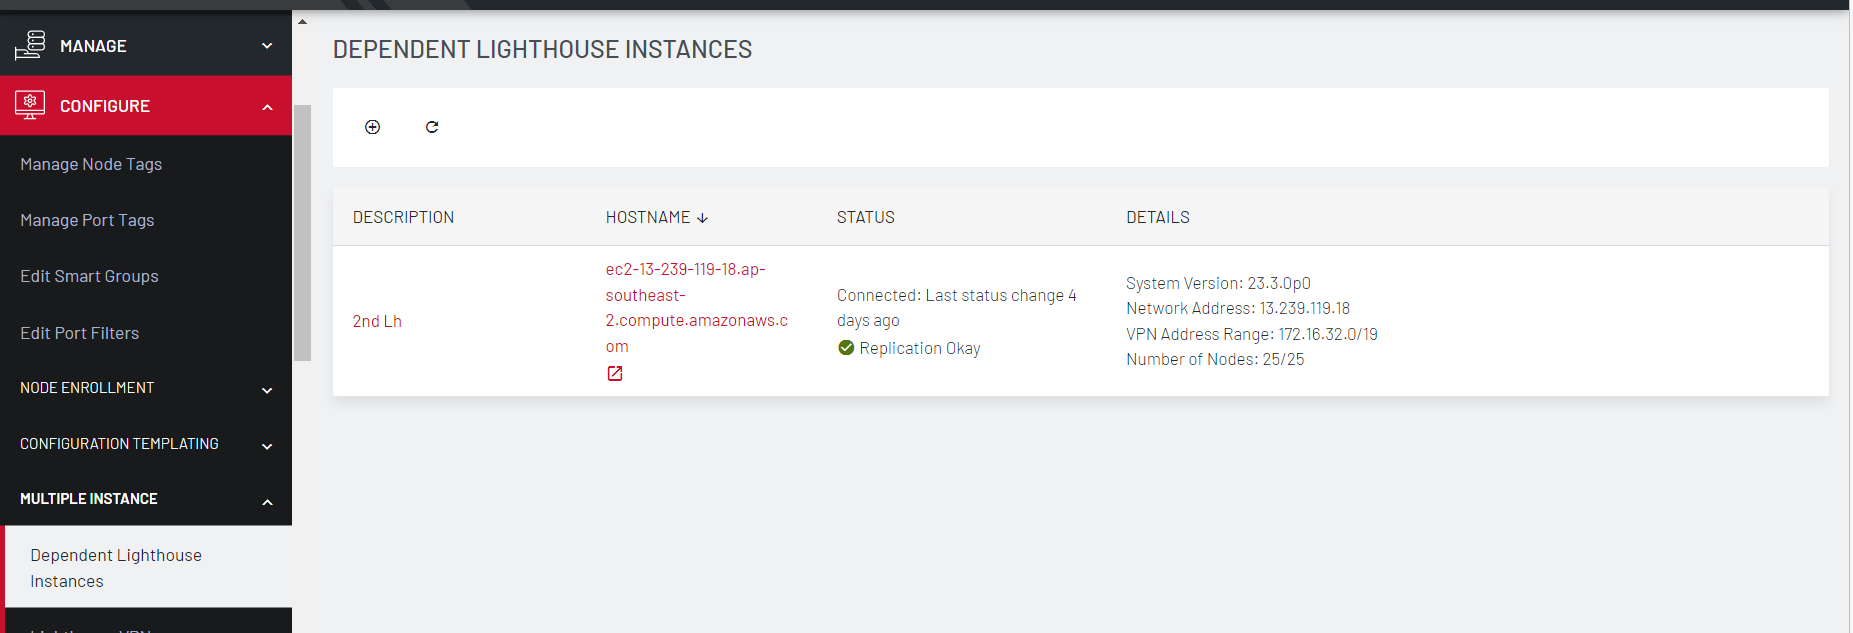
On the primary Lighthouse, click Configure > MULTIPLE INSTANCE > Dependent Lighthouse Instances.
-
Click Add. Enter the following details of a Lighthouse instance to enroll it as a secondary instance:
Description
Network address
Network port
Username
Password
In the VPN Network Range enter a valid, unused network subnet to use as the dependent lhvpn address range. See Configuring Subnets for a Multiple Instance Lighthouse.
Note: The secondary Lighthouse instance must be able to reach the primary instance on UDP Port 1195.
-
-
Click Apply.
-
Dependent Lighthouse Enrollment displays status as it moves from Pending > Registered > Enrolled.
-
When the VPN connection is established between primary and secondary Lighthouse, this page will display Connected with the time since the last status change and Disconnected when the connection is lost. Any errors in the Enrollment process will display in the status column.